Getting Started with Presentify: Your Complete Guide
Learn how to set up and use Presentify to create engaging presentations, tutorials, and screen recordings on your Mac.

Whether you're a teacher, content creator, or professional presenter, Presentify helps you communicate more effectively by letting you annotate directly on your screen. This guide will walk you through everything you need to get started.
Installation
Presentify is available on the Mac App Store, Setapp, and directly from our website (payment handled by Polar.sh). Download and install the app, then you’re ready to start annotating.
Buying from the Mac App Store
If you purchase Presentify from the Mac App Store, the purchase is tied to your Apple ID (not a specific device), so you can use it on any number of Macs as long as you sign in with the same Apple ID.
Getting Presentify via Setapp
Setapp is a subscription service that gives you access to a curated collection of Mac apps (including Presentify). It also offers a 7-day free trial, so if you want to try Presentify before buying, this is the easiest way.
Buying directly from the website
If you prefer not to use the Mac App Store or Setapp, you can purchase Presentify directly and pay via Polar. You’ll receive a macOS .dmg installer and a license key.
That license is for one device at a time—you can deactivate it on one Mac and activate the same key on another whenever you want.
Required permissions
Presentify doesn’t need any special permissions for annotation, cursor highlight, spotlight, or global keyboard shortcuts.
The only permission you may need is Screen Recording. It is required for the Zoom feature and for capturing screenshots, such as when you save annotations as an image. If you don’t need Zoom or screenshot capture, you can skip this permission and still use the rest of the app.
Launching Presentify
Presentify is a macOS menu bar app, so it doesn’t have a traditional window. To get started, click the Presentify icon in Launchpad or type “Presentify” in Spotlight and press Return. After that, a small Presentify icon appears in the menu bar. Click it to start annotating any screen or highlight your cursor. You can also toggle these features with keyboard shortcuts.
If there’s not enough space in your menu bar, you may not see the Presentify icon. To resolve this, use an app like Ice (free and open source) to declutter your menu bar and free up space. Watch this video to see it in action.
Your first annotation
Once installed, press ⌃ + A (Control + A) to activate the annotation mode. You'll see a toolbar appear at the bottom of your screen with all available tools:
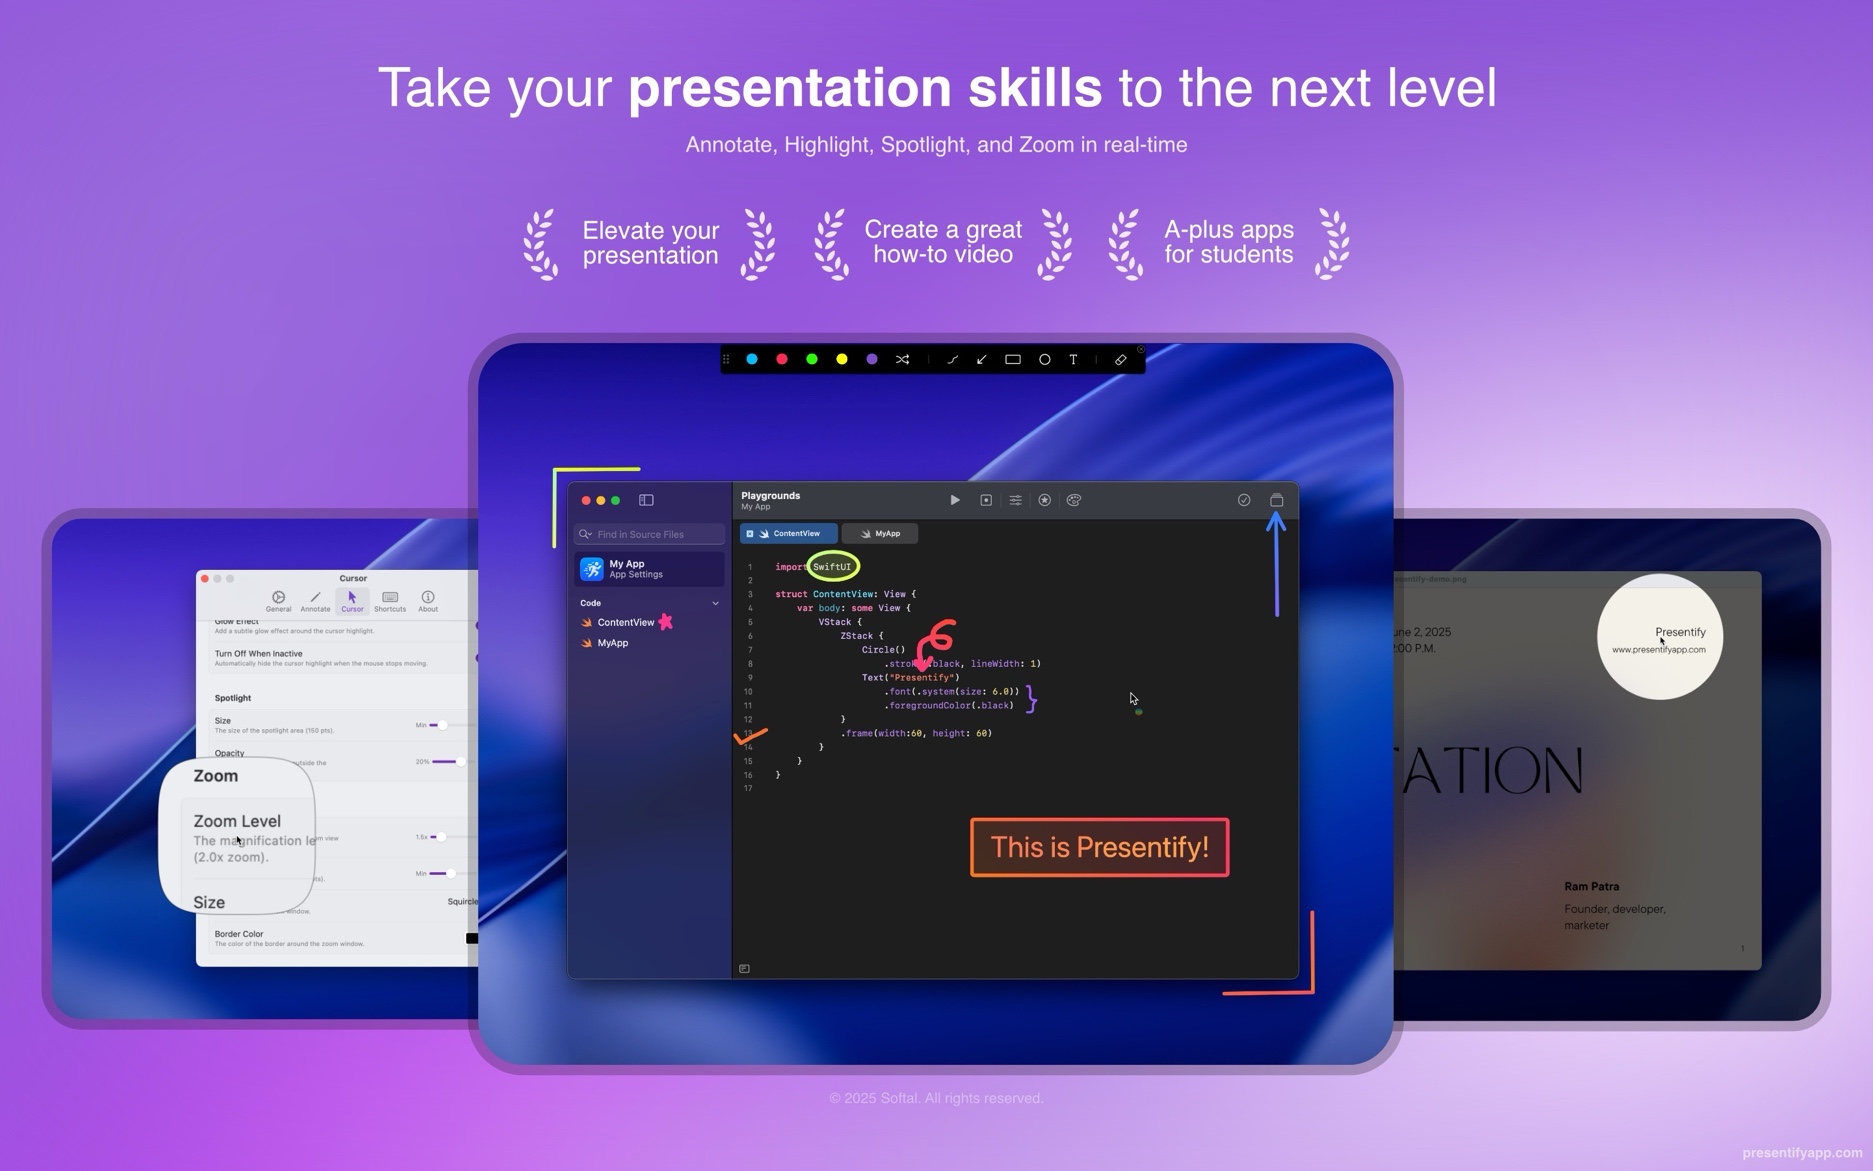
- Free Hand — Draw freely with your mouse or trackpad
- Arrow — Create arrows to point at specific elements
- Rectangle — Draw rectangles to highlight areas
- Circle — Draw circles or ellipses
- Text — Add text annotations anywhere on screen
Whiteboard
Need a blank canvas? Presentify includes a whiteboard. While in Annotate mode, press W to switch to the whiteboard.
Interacting with other apps (Fn key)
Sometimes you may want to advance slides, scroll a page, or click in another app while Presentify is on. You can simply press and hold the Fn key to temporarily interact with the underlying app (instead of Presentify). You can learn more in this video.
Interactive Mode
If you want a distraction-free setup, enable Interactive Mode when starting Annotate. With this mode enabled, Presentify stays in the background and activates only while you press and hold the Fn key. See this video for a quick demo.
Cursor highlighting
One of Presentify's most popular features is cursor highlighting. Press ⌃ + S to toggle a colorful halo around your cursor, making it easy for viewers to follow along.
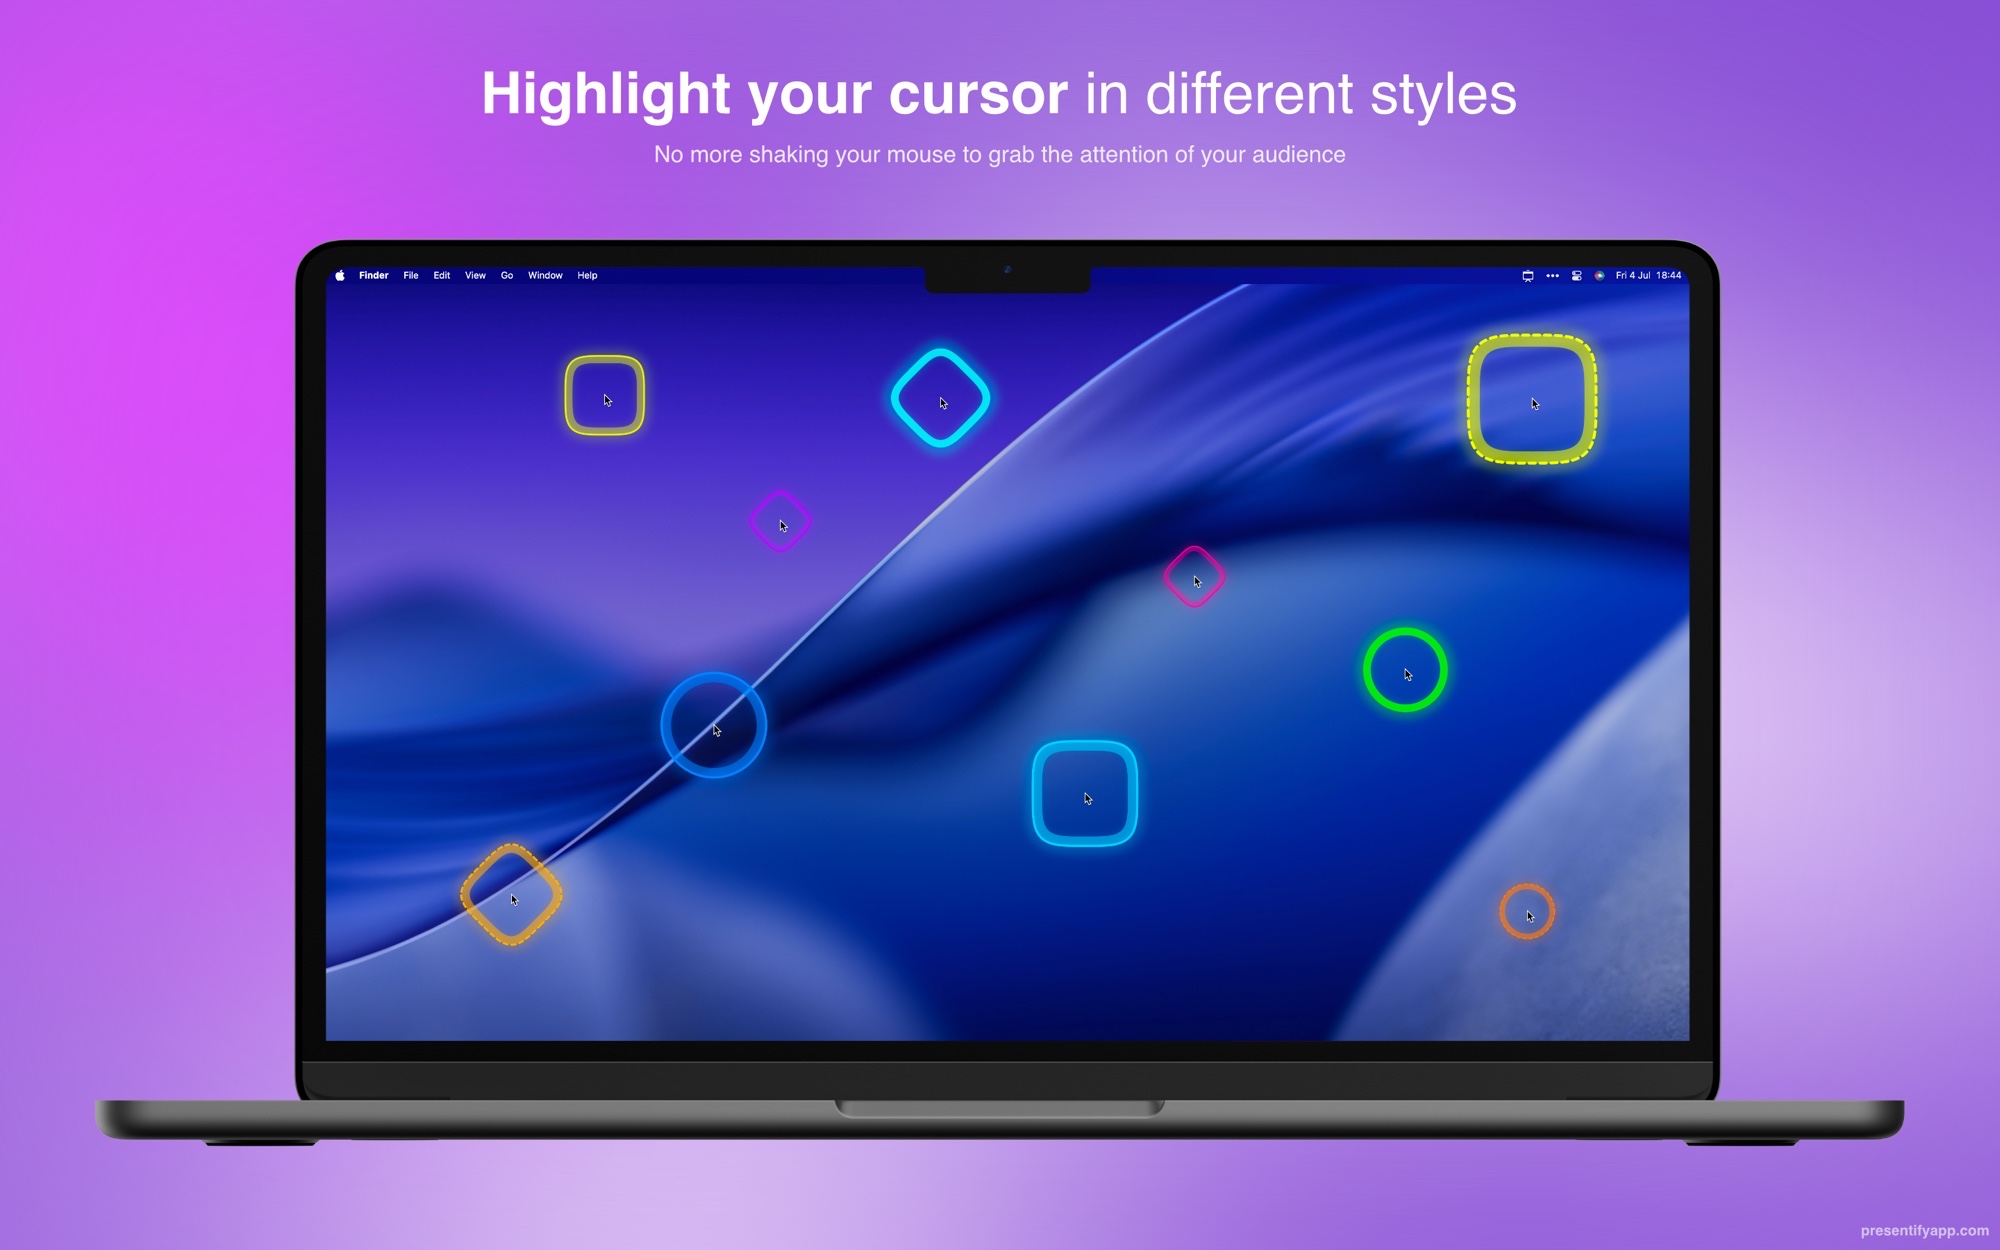
Customize the highlight
You can customize the highlight color, size, and style in Presentify's settings. Choose from solid colors, gradients, or even animated effects.
Spotlight
Need to focus attention on a specific area? Use the spotlight feature (⌃ + L) to dim everything except the area around your cursor. This is perfect for:
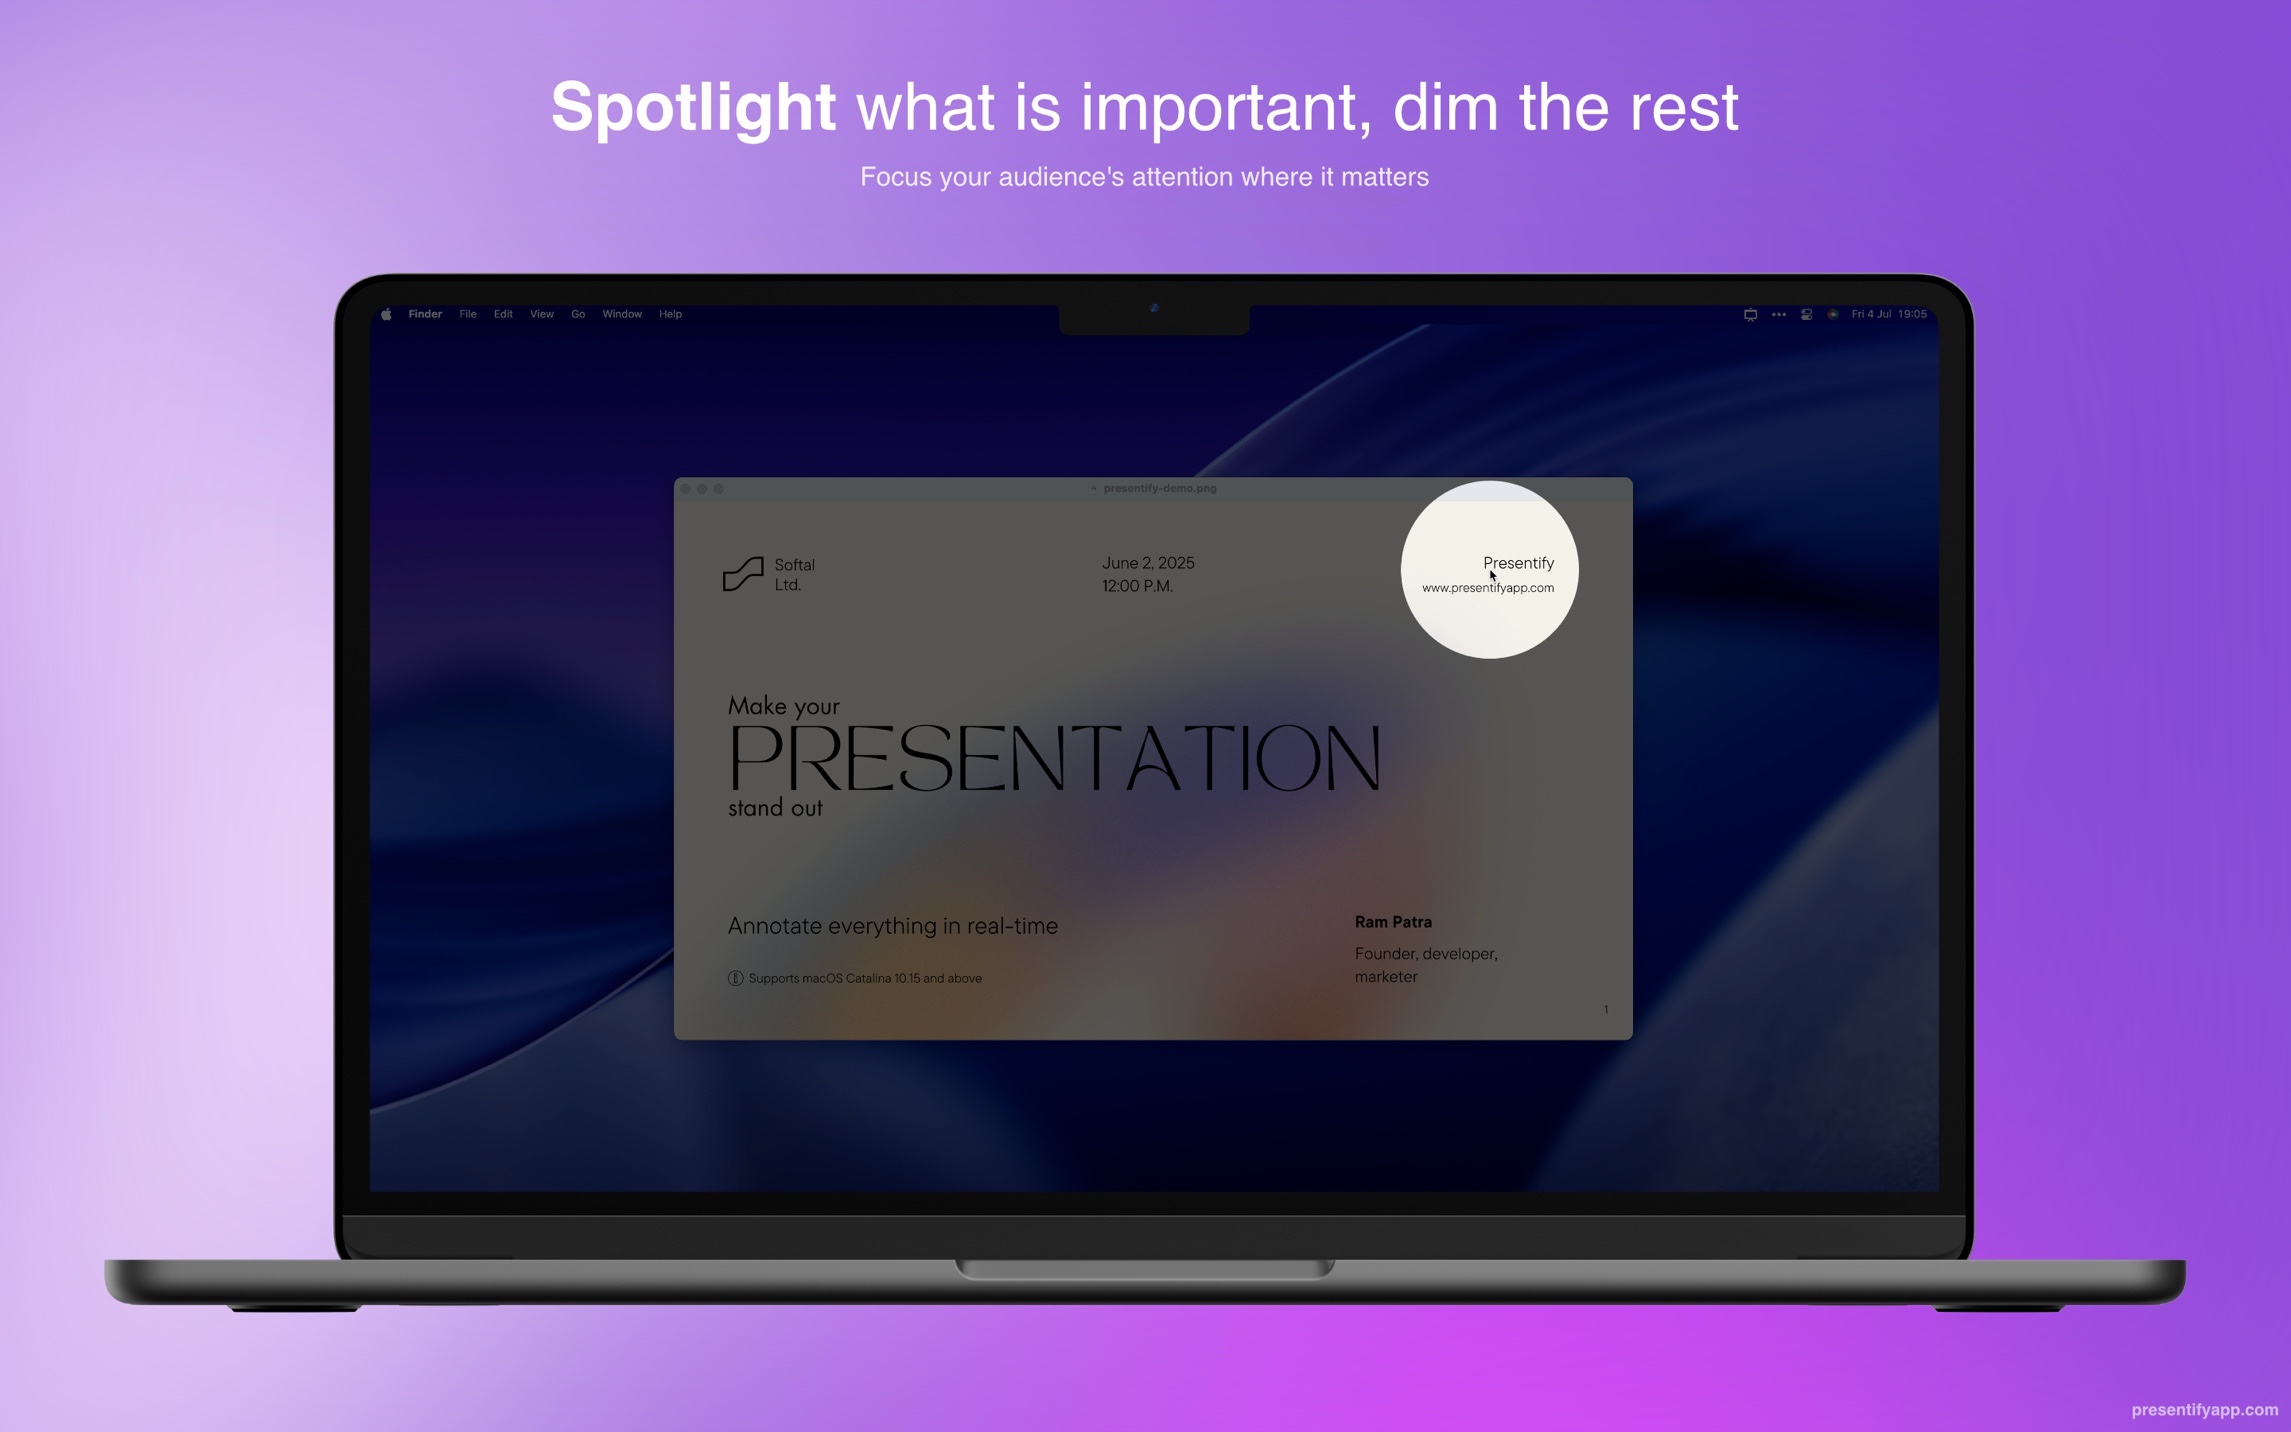
- Highlighting code during programming tutorials
- Drawing attention to specific UI elements
- Creating dramatic reveals in presentations
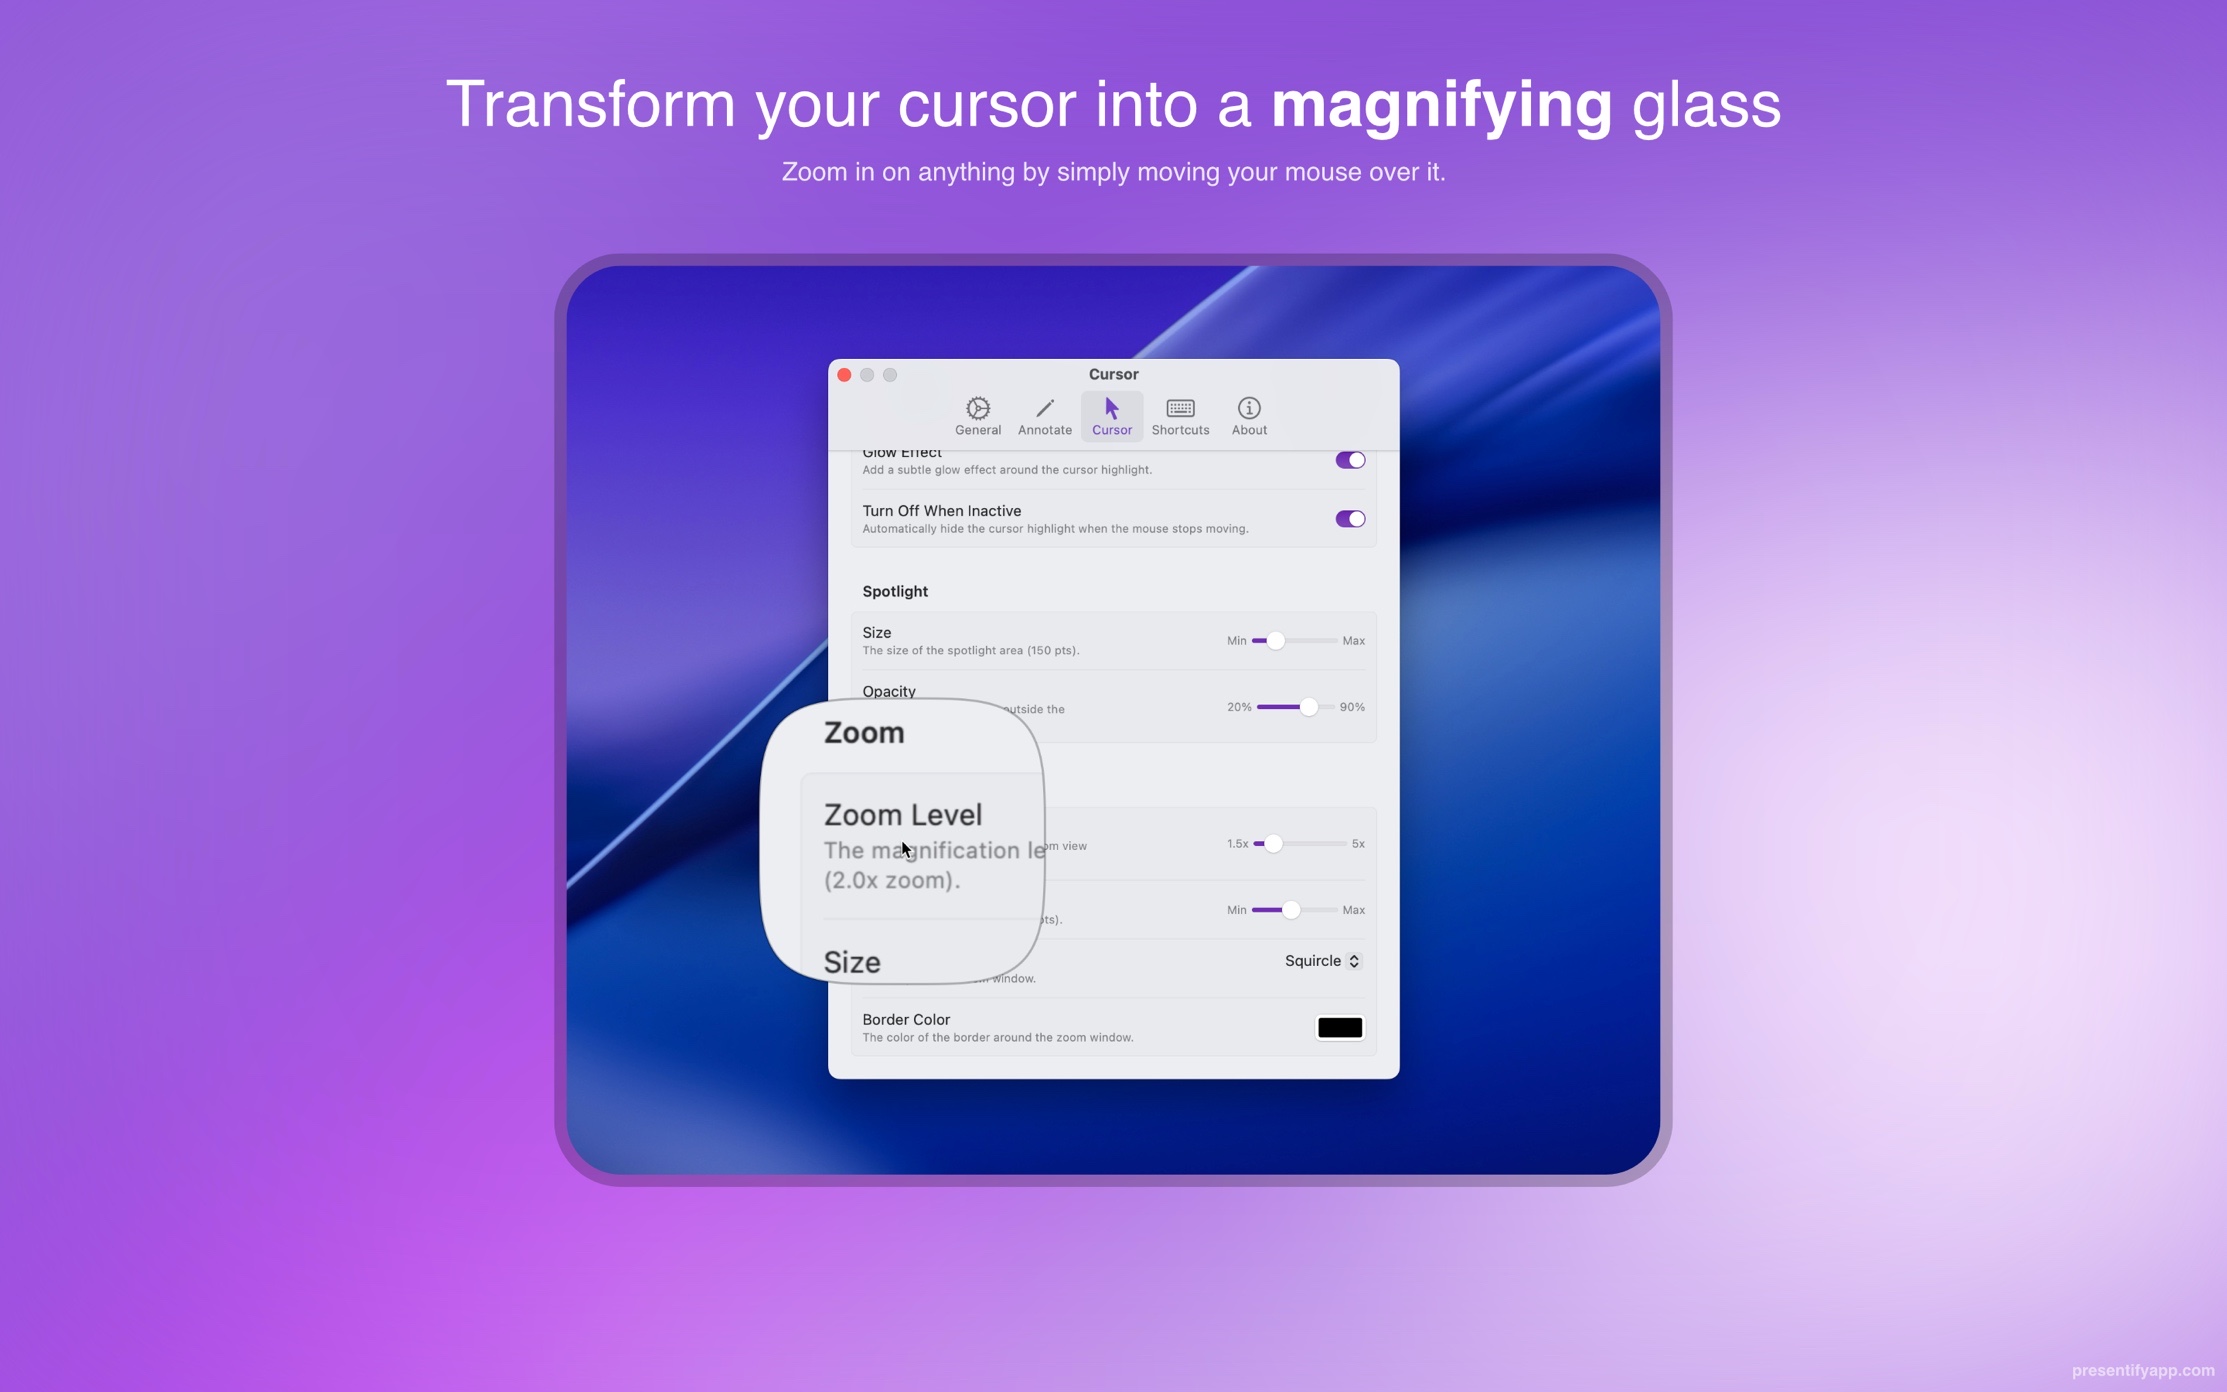
Zoom
Zoom lets you magnify the area of the screen where your cursor is pointing—great for small text or fine UI details. Zoom needs Screen Recording permission so Presentify can capture and magnify the area around your cursor.
Tips for effective presentations
- Practice your shortcuts — Memorize the key shortcuts so you can annotate without breaking your flow
- Use contrasting colors — Choose annotation colors that stand out against your content
- Keep things tidy — Turn on auto-erase so drawings fade after a set time (and press
⌫(Delete) anytime to clear manually) - Combine with screen sharing/recording — Presentify works great with screen recording tools (like OBS) and video calling apps like Zoom, Google Meet, and Microsoft Teams
Next steps
Now that you know the basics, explore our other guides to learn about advanced features like:
- Interactive Mode
- Stream Deck integration
- Annotate using iPad and Pencil using Apple Sidecar/Screen Mirroring
Happy presenting!